TIPS Creating Stain Art
The first time I saw this process was a image of an enlarged flower on a wood table. I watched many videos on how to do this by several different crafters. If you really want to learn how to do this, google 'art staining' and watch a few crafters' style. Each one has their own way to do this.
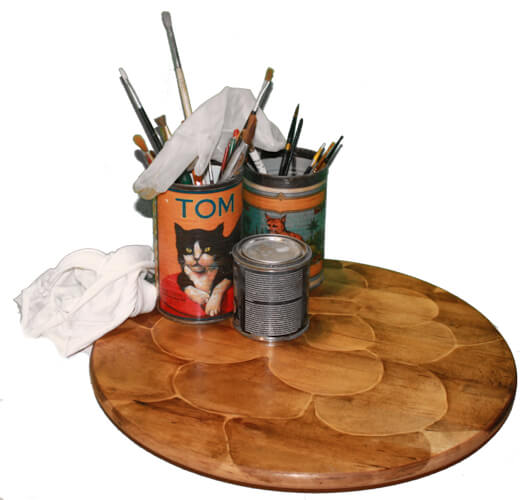
The flower you see on the lazy susan shown above is very easy to practice with. You can easily hand draw the flower and stain.
Let's Talk.
Got questions on how to put together your own projects? Need help adding a design to your projects? If you see something you would like, contact me. I might be able to create something similar.
Tips on how I do my own style.
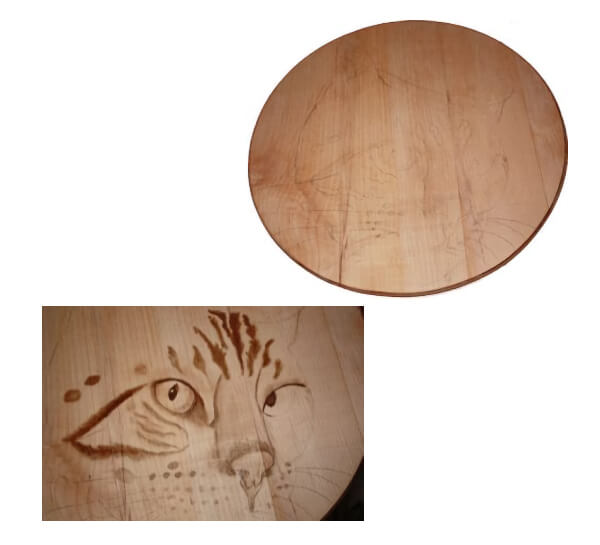
You will find that each project will require its own process and tools. An overlarge project may require your finger and a soft cloth. Detailed work such as Katmandu's face shown here takes a very fine #1 paint brush.
The first step is to decide on the design and enlarge or over size the image to fit the wood surface. I use my printer for this or I have a cheap projector that I use to fit the image to the project. The projector allows me to enlargen the image to fit table-sized projects. I then outline the image on the surface using either carbon paper or directly by pencil. I do not include all the finer details, basicly just the outline itself.
Next comes the sketching in phase. A HUGE eraser is required. Keep working on it until you are happy with how it looks.
The sketch is the most important stage of creating a stained art project. I have a copy of the art, in this case... Katmandu is my screen background, so I had a nice large image to focus on.
Once I was finally satisfied I began working on fine features. Starting with the eyes in this example, I spread out from there. Working with the stain sometimes make the details difficult to define, but keep shading. Shading is done with a clean soft cloth. White tshirts work great for this. Rub and pull the stain slightly until you are satisfied with the effect.
To get the image to 'pop', use a darker stain around the image. Sometimes I prefer a softer effect as with this cat post. Either I leave the wood natural or use a lighter stain.
Let the project dry a day or two. This is important so you do not smear your work. I have ruined many of projects by rushing this stage.
Next decide on a top coat. You can use polyurethane or any clear coat you are familiar with. Here is a smart tip. Sample the clear coat on a piece of similar wood. Notice how it reacts. Gloss works best in hard conditions like outdoors or wet project. Satin hand rub is my preferred top coat for indoor proojects.
Outdoor projects I prefer urenthane which is available in gloss and satin, just be sure to stir the topcoat throughly.
If you have any questions on a project you are working on, feel free to contact me.